The process of building a bodhrán is truly magical. I love nothing more than seeing one of my favourite musical instruments take shape before my eyes.
I’ve been honing my craft for over 40 years now, and yet it never ceases to amaze me.
The art of bodhrán making is something that intrigues many people. Curious customers frequently ask me about the process, wanting to know more about how their brand new instrument was created.
So I thought I’d share my process.
If you want to learn how this beloved frame drum is constructed then you’ve come to the right place. Read on to learn all about this unique instrument making tradition.
Who knows? By the time we’re finished you might even want to try your hand at this exciting practice yourself…
The Art of Curing a Goatskin
I’ve said it before and I’ll say it again, the most important part of the bodhrán is the skin.
The skin will dictate the quality of the sound that each drum produces. Bodhrán skins are traditionally made with goat skin, but these days you can find instruments skinned with kangaroo, deer and various other animals.
Here at McNeela Instruments our goatskin is hand cured and hand stretched as well as being properly conditioned and treated.
Most importantly, our skins are sustainably and ethically sourced, and are carefully selected and thoroughly examined for quality.
But what happens after we’ve selected these skins?
Before the skin is ready to be used as a drum head it must first undergo a process called curing.

How to Cure a Goatskin
First, you need a solution of garden lime mixed with water. The skin is left to soak in this mix for six or seven days until the skin is soft enough to remove the hair by washing it in a barrel of water.
Next, the back of the skin must be scraped of any muscle, fat or tissue so that the skin doesn’t start to rot or smell when drying. The goatskin is then soaked in a brine solution for two days. Brine is 2 lbs of salt to 20 litres of water.
After two days, the skin is removed from the solution, stretched and left to dry – in the sun if possible.
Sunlight helps to bleach the skin, giving its characteristic pale appearance. Airing the skin outside also helps to ensure that you don’t end up with a pungent bodhrán.
The stretching and drying of the skin is an important step. This process allows the skin to become more pliable and also helps remove oils.

Creating the Drumhead
Once dried, the skin is now ready to be attached to the wooden frame.
Somewhat confusingly, this next step is done while the skin is wet, as this makes the skin easier to stretch. So first it must be soaked again in water, for about thirty minutes to an hour.
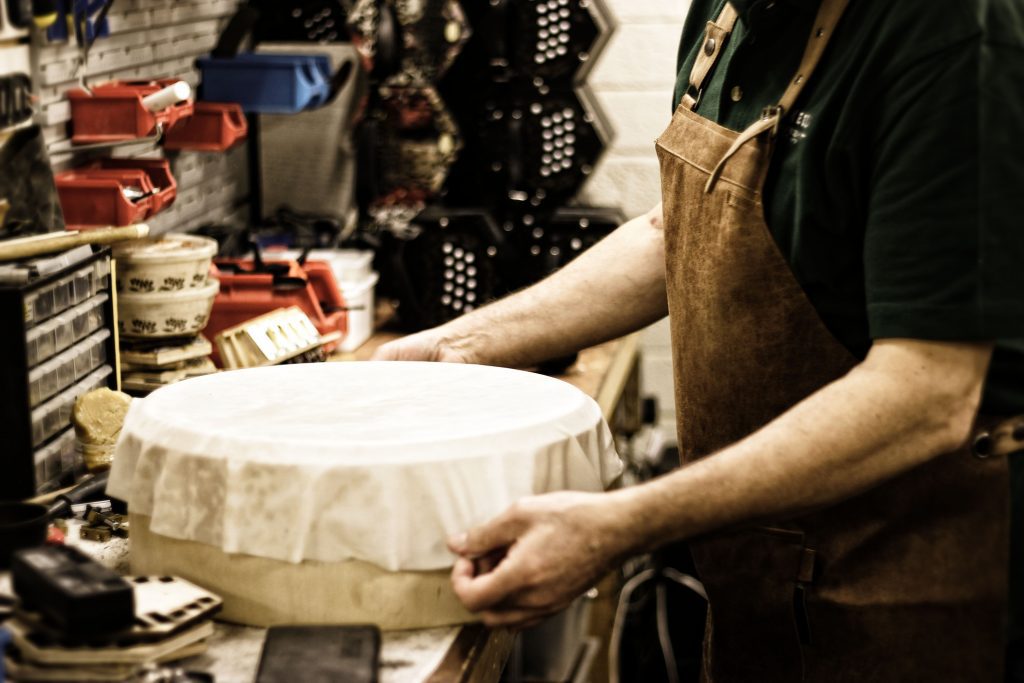
The damp skin is then loosely stretched over the circular wooden rim of the bodhrán. There needs to be a little slack as the skin will shrink as it dries, but not too much or it won’t produce a strong tone. It’s a delicate balance indeed.
The skin can then be attached to the bodhrán in several ways: it can be nailed, stapled or glued.
My preferred method is gluing. It gives the strongest and neatest finish, but all methods are acceptable. Stapling or nailing are sometimes required to get a tighter stretch on the skin.
Once the glue is painted on, and the skin is in place, I attach a large length of elastic around the rim to hold the skin in place as it dries, and trim away any excess.
Then, we wait…
The bodhrán needs to be left alone so that the skin can dry naturally. I give a few occasional taps to test the tension as the goatskin dries, but it’s important to resist the urge to try playing the newly made bodhrán just yet.
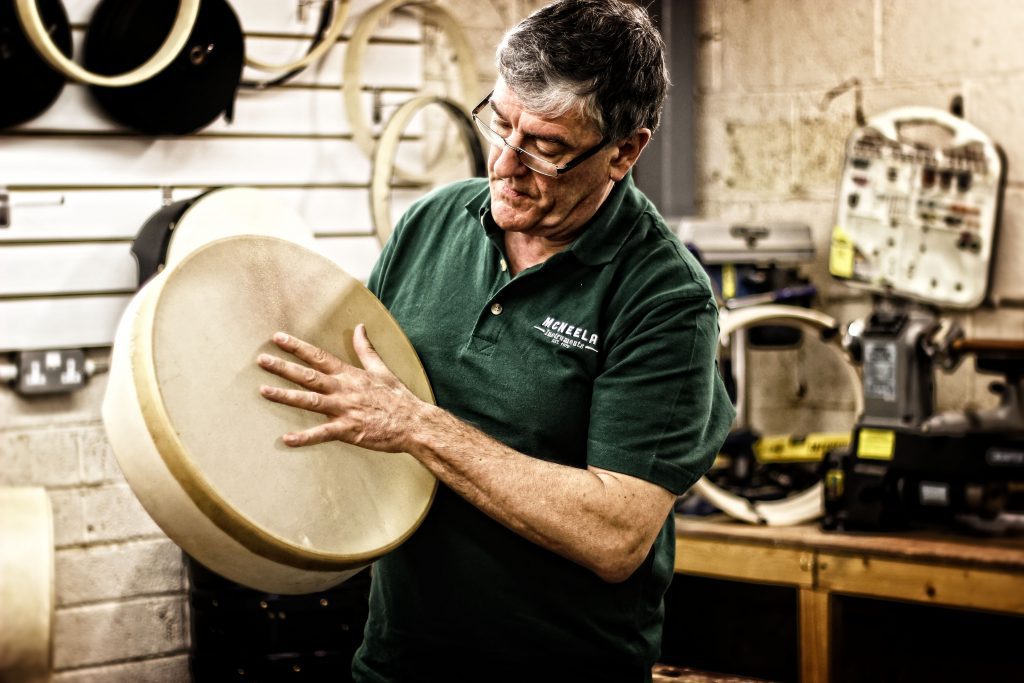
I’ll know it’s ready to go when the skin sits tight against the rim and produces a nice resonant tone when struck.
Perfecting the Tone
Once it’s dry, I tape the edge of the drumhead with black electrical tape. Why?
Taping dampens the sound, which in turn reduces unwanted overtones and improves the harmonics. In other words, it makes the bodhrán sound better.
Some players prefer to play bodhráns that aren’t taped but I like to tape all my bodhráns as I want them to produce the best tone possible. It makes a huge difference to the sound of the drum in my opinion.
Once taped, I attach a leather or vinyl band around the rim using studs to give the bodhrán a neat, finished look.

What Happens Next?
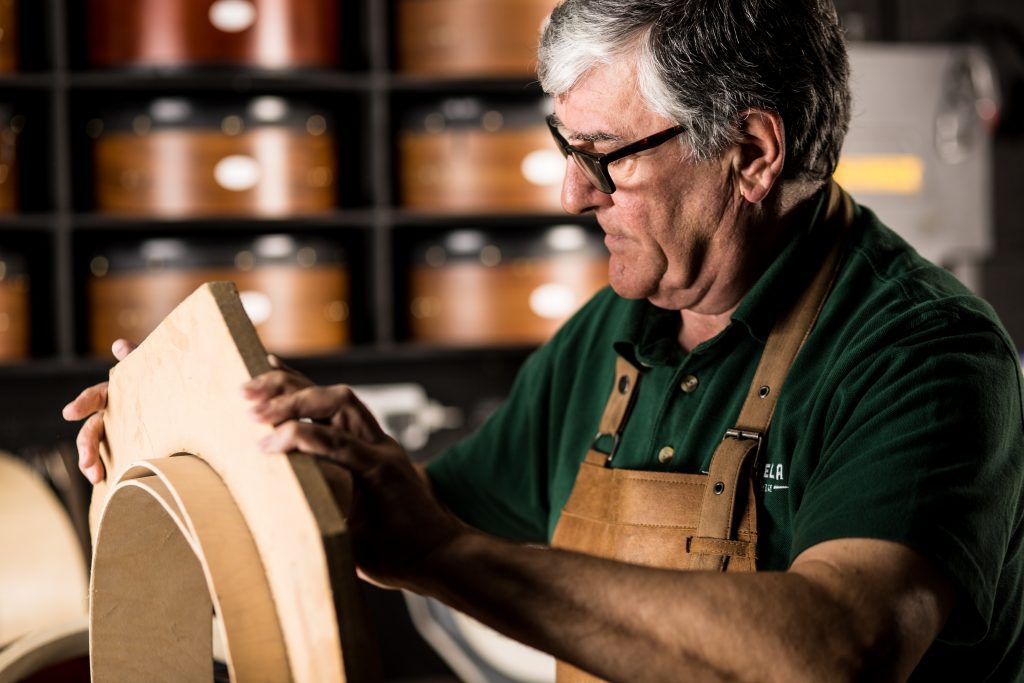
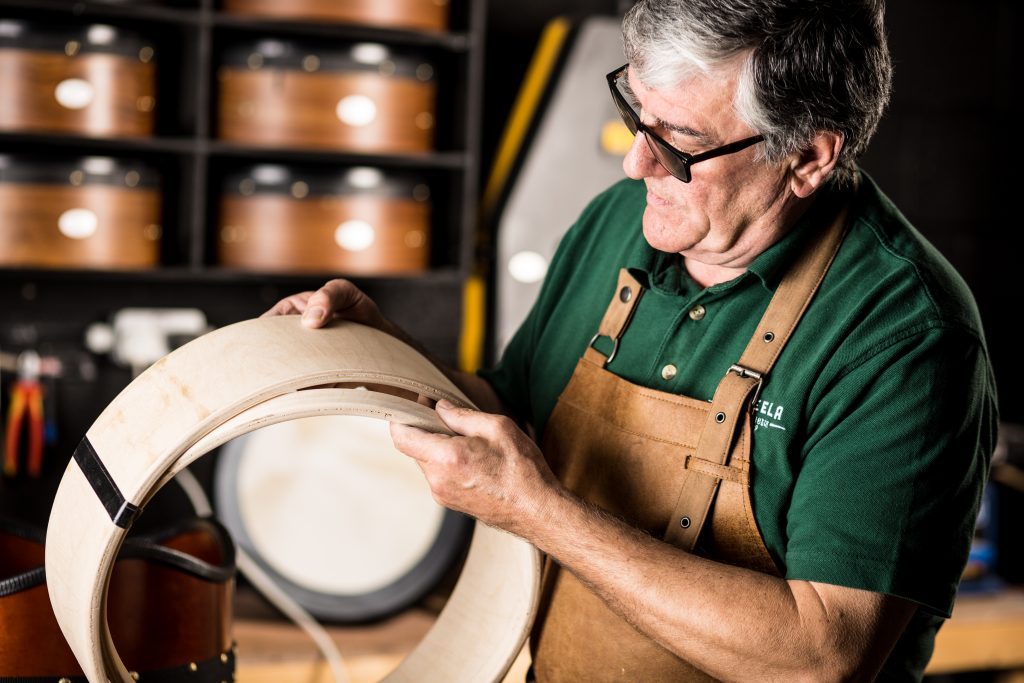
While the goatskins cure, I’m busy building the circular wooden bodhrán frames.
Each frame is precisely measured and cut to a diameter of 18″, 16″, 15″ or 14″ then sanded down and varnished before it lies in wait, ready for its new skin.
I greatly enjoy this process. Choosing tonewoods (pinewood and rosewood are two of my favourites) finishes, varnishes and coloured lacquers – there are plenty of creative decisions to keep me busy!
I also like to experiment with cutouts, or frame shapes – sometimes result in something a little different, such as The Wave Bodhrań.
I like to imagine the future each bodhrán has in store as I craft it – wondering whose hands it will end up in and what stories it might tell years from now.
An Extra Step
If I’m building a tuneable bodhrán (which I frequently am) I also prepare the inner hoop and attach the brass fittings that will be used to adjust the pressure placed on the skin.
Tuneable bodhráns allow you to adjust the tension of the skin. The tighter the skin, the higher the tonal pitch. The looser the skin the lower the tonal pitch.
While I always strive to ensure the skins are perfectly secured to give the best tone possible, I understand the importance of personal preference.
Some bodhrán players favour a bassier sound, while others prefer more tension to allow for top-end playing. This is why I build bodhráns with tuning systems.
My McNeela performance bodhrán range offers an easy to use, 8 point hand-tuning system, while some of my intermediate bodhráns feature a 6 point tuning system that requires an Allen key to turn the tuning pegs.
Both systems ensure that every bodhrán player will find the tension that best suits their playing.

Build Your Own Bodhrán
There really is nothing more satisfying than crafting your own musical instrument.
It truly offers an added sense of satisfaction, creating music with an instrument that you built with your own two hands.
It’s a creative process that I’ve been lucky to enjoy for many years now, and one that I would like to share with everyone.
That’s why, here at McNeela Instruments, we’ve put together everything you need to make your very own bodhrán in our DIY Bodhrán Kit.
Don’t worry, I’ve taken the liberty of completing some of the more difficult steps on your behalf, to make the process a little easier.
If you’re feeling a little daunted however and would rather get your hands on something that’s ready to play, then why not take a look at my full range of Irish bodhráns and see if any of my creations catch your eye.
If you need a little guidance knowing which instrument is right for you, you can always check out my handy blog post: The Expert Guide to Buying a Bodhrán.


I am interested in purchasing the bodhran kit and the cream. The Drum Diddly is sold out. The form to ask about it is not allowing me submit my question. Can you tell me when the cream will be available?
Hi Roberta, you can request to be notified over email on the product page when it is coming back in stock. This is the best way to keep an eye out.
https://mcneelamusic.com/percussion/drum-diddly-bodhran-cream/